When you get the ultrasound out in your busy veterinary practice, you often don’t have the time to stop and think about optimising your image. Most of the time you switch on and go, ruling various differentials in or out quickly (e.g. looking at a mass or performing an AFAST exam). But what happens if you are doing a detailed abdominal ultrasound in an animal with vague clinical signs and your image is just not that great?
Here are 4 basic steps to help get you started on the right track:
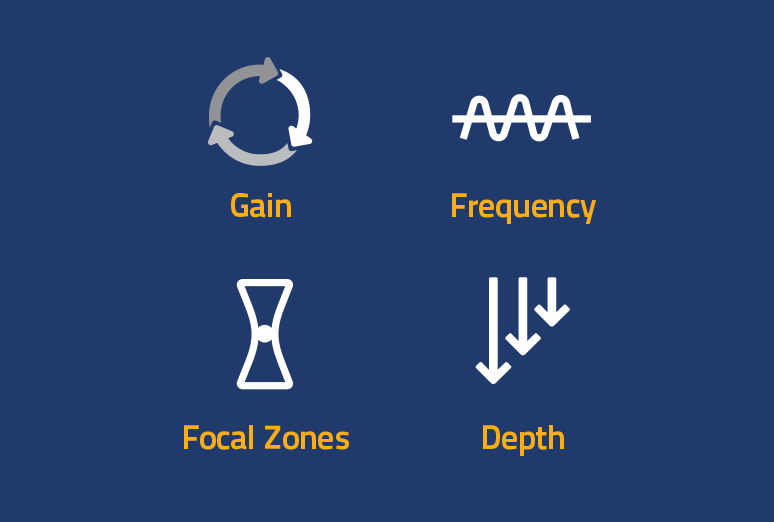
1. Depth:

Getting your exam depth correct is vital. It’s fine to start at a greater depth to get a quick overview but when looking at organs in more detail you need to reduce “dead space” as much as possible and make the area of interest fill as much of the screen as possible. If the region of interest is small and taking up less than 75% of your screen you should decrease depth where possible, so the tissue of interest becomes bigger and fills the screen more.
2. Frequency:

Once you are happy with your depth, the next step is to ask yourself: Are the ultrasound waves getting to the bottom of the image? If not, then you need to reduce your frequency to improve the penetration of the ultrasound waves.
If you are happy with the penetration of the ultrasound waves, then you need to ask “is the detail good enough?” If it’s not, then you should increase your frequency to improve the resolution of the image.
Some machines display frequency as a number or range of numbers (in MHz) next to a capital “F” for fundamental frequency (ie F 2.0-6.0MHz) or a number with a capital “H” in front for Harmonic Frequency (ie F H8.0MHz)
Sometimes the frequency is denoted in the following terms:
- Res: High frequency – provides the best possible resolution.
- Gen: Middle frequency – provides a balance between resolution and penetration.
- Pen: Low frequency – provides the best penetration.
3. Focal Zone:

Next set your focal zone (FZ) to increase resolution at a specified depth. Some systems adjust focal zones automatically according to depth and exam type, so you may not have the ability to adjust them manually.
On systems where the FZ can be adjusted manually look for a triangle, arrowhead or line that can be moved up or down along the depth scale. Some probes also allow more than one FZ which will improve the resolution greatly but be aware that increasing the number of FZs will reduce your frame rate which may reduce image quality. Always use as few FZs as possible and adjust FZ(s) to the level of interest to maximise resolution and maximise accuracy of measurements.
4. Gain & Time-Gain Compensation:

In most cases, “gain” is the control that people reach to first, but we advise that you leave it to last. Gain increases the overall amplification of returning ultrasound signals (echos). If Gain is set too high, it will result in increased “noise” and a “brighter white” image that obscures detail. Gain set too low will result in a duller, darker image and loss of diagnostic information. The overall Gain control is usually a round knob that increases gain when rotated clockwise and decreases gain when rotated anti-clockwise. It is often denoted on the screen as a number following the capital letter “G”.
Time-gain compensation (TGC) allows you to selectively increase the amount of amplification at different depths (time intervals) to obtain a consistent gain throughout the image.
On most systems, the TGC is a series of sliding controls arranged vertically underneath one another where one slider corresponds to a set depth. In older machines it was common to have these sliders arranged in a roughly diagonal line where the tope slider corresponds to the field nearest the probe requiring the lowest gain (ie to the far left) and the deeper field furthest from the probe requiring the most the gain (ie to the far right). However, in more modern systems, the TGC has usually been calibrated so that the sliders can be set at the same position (ie the middle) from top to bottom for most cases and adjusted as needed.